How To Cut Curly Hair In Layers – smartesthairstyles.com – Adding layers to curly hair can make your hairstyle more bouncy and lively. Cutting them yourself can save you a lot of money, but giving yourself a haircut can be intimidating. However, it’s not that hard once you start with the right tools. Remember to cut curly hair while it’s dry so you can see the shape of your haircut as you go. Work slowly in sections to add layers that will completely transform your look!
- Prepare your hair for cutting
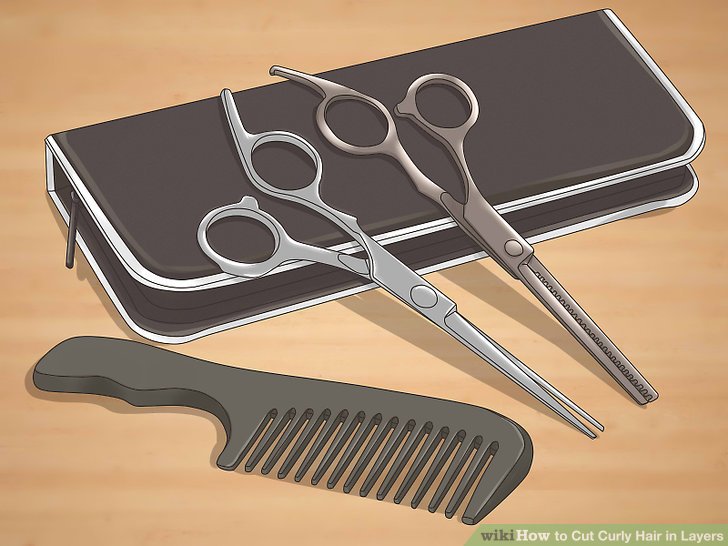
1. Get a pair of sharp scissors and a wide-toothed comb. Don’t just use just any pair of scissors – find scissors that are made specifically for cutting hair, as they are sharp enough to avoid tearing the ends of the hair while cutting. A wide-toothed comb is also important when working with curly hair. In fact, the wider the better! This detangles your hair and doesn’t stretch it out as much and helps prevent frizz.
Make sure you only ever use your scissors to cut hair. If you use them on other objects, they will dull faster.
Do not use razors if you have curly hair. This can damage your hair and promote frizz.
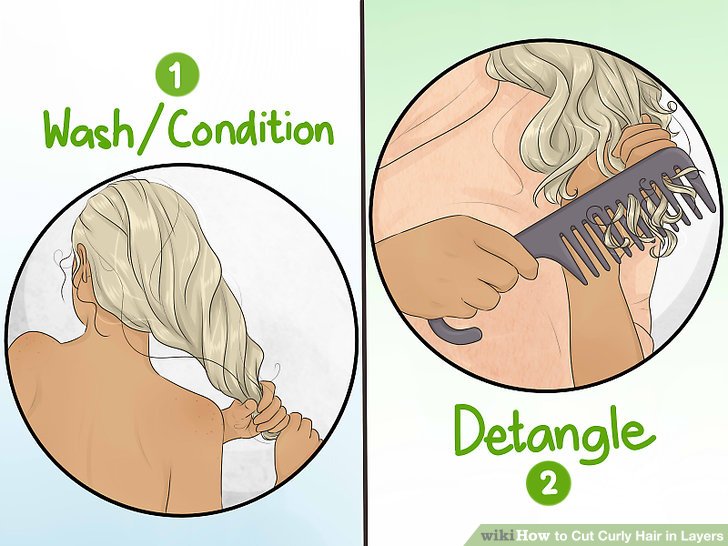
2. Wash, condition and detangle your hair. Add conditioner and fully detangle your hair. Depending on the type of conditioner you use, you can comb through or just apply and wash. Detangling your hair makes it easier to work with. Making sure your hair is properly moisturized can help you identify which hair is damaged and needs to be removed – sometimes the ends of your hair look damaged when in fact they are just dry.
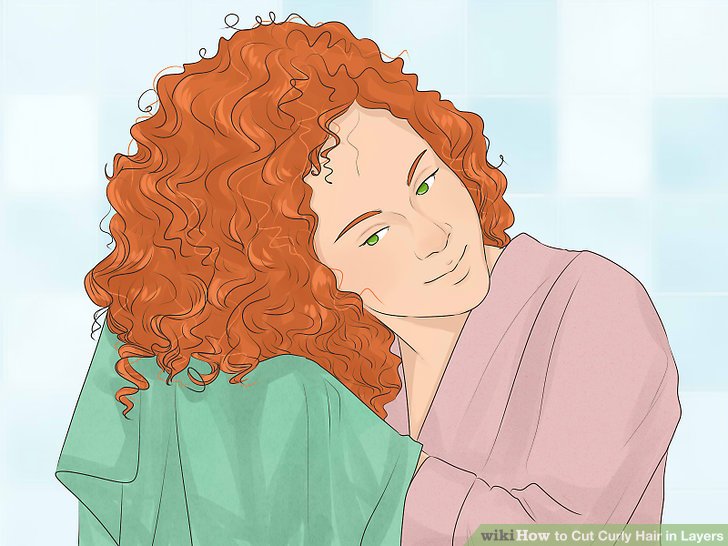
3. Dry your hair Allow your hair to air dry or dry with a microfiber towel, which is gentler on your hair. Air drying or gently drying with a towel can help your curls regain their normal shape and length. If you cut your hair while it is dry, you can immediately see what the final cut will look like. Additionally, curls form and get shorter as they dry, so you run the risk of cropping your layers too short if you cut them wet.
It’s okay if your hair is a little damp as long as it’s not wet.
When you cut dry hair, you have less control over it. So if you find it too difficult to trim and trim completely dry hair, you can slightly dampen it with a spray bottle.
- Remove total length
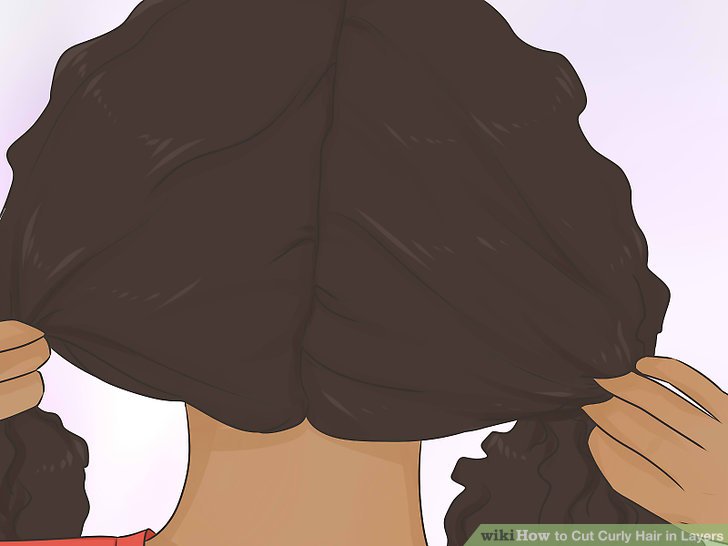
4. Divide your hair in half. Make a part in the middle of your head, starting in the middle at your forehead and continuing to the nape of your neck. Pull the sections forward over your shoulders.
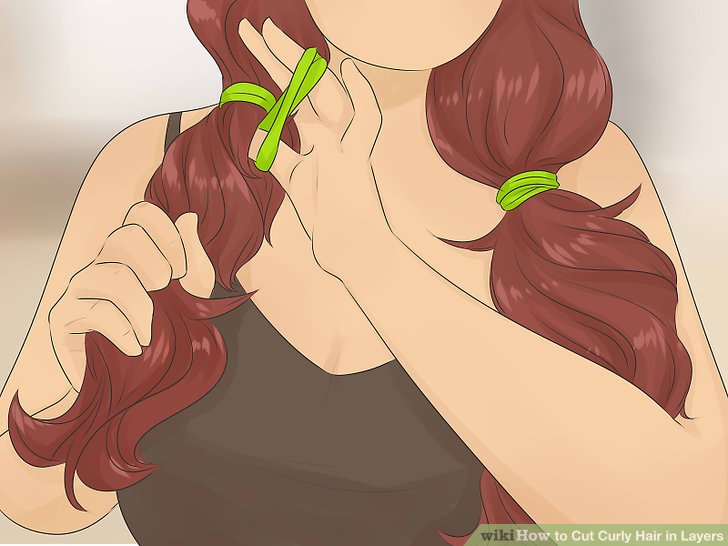
5. Attach hair ties to each section where you want to make a cut. Tie a hair band across the entire section and slide the bands down until they are just over the length you want.
If you have shorter hair, divide your hair into two or more sections using clips and place a clip just above where you want to cut.
First, try cutting off an inch or two less than you ultimately want to cut off. You’ll likely need more trimming as you balance the length, and you don’t want to end up with hair that’s too short. You can always remove more later.
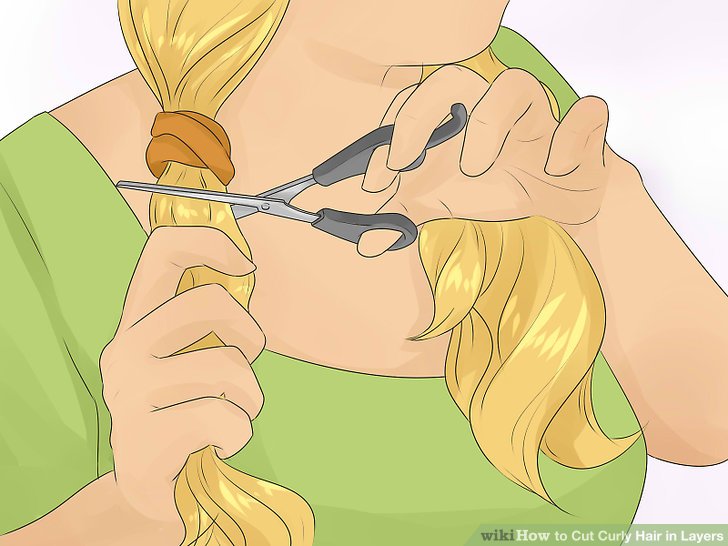
6. Clip the strands underneath your hair tie. Cut your hair in a straight line. Use multiple cuts to go through the entire section. This will leave you with blunt cut ends.
If you want to thin out the ends of your hair and make them look faded, cut each section up at a slight angle.
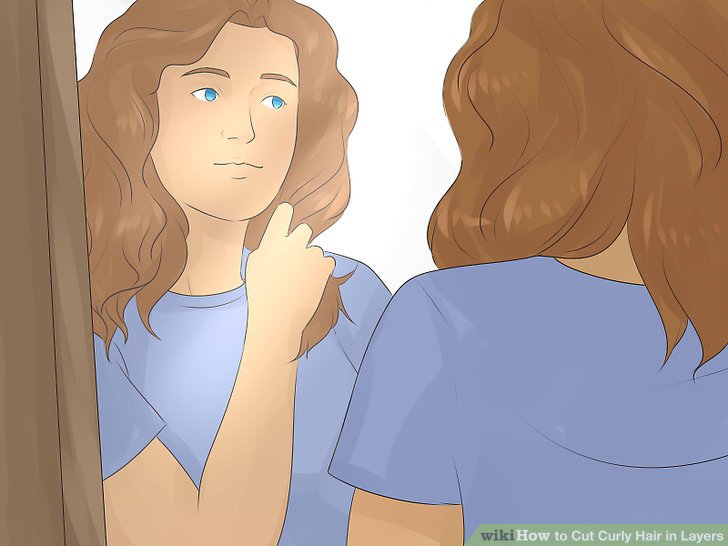
7. Untie the sections and arrange the length. Remove your hair ties or clips and visually assess your hair. If you see particularly long strands, cut them off quickly. Use two mirrors to look at the back of your hair and smooth out any uneven edges.
Make sure your hair is the same length on both sides of your head. Pull the strands of hair forward from each side, making sure they are the same length. You may need to pin your hair back into sections and trim off a little more on one side.
If you’re having trouble getting all your hair an even length, you can also try tying all your hair into a ponytail on top of your head and clipping the ends. This will also add some layers to your hair. Use clips if your hair is too short for a ponytail.
- Cut layers into your hair
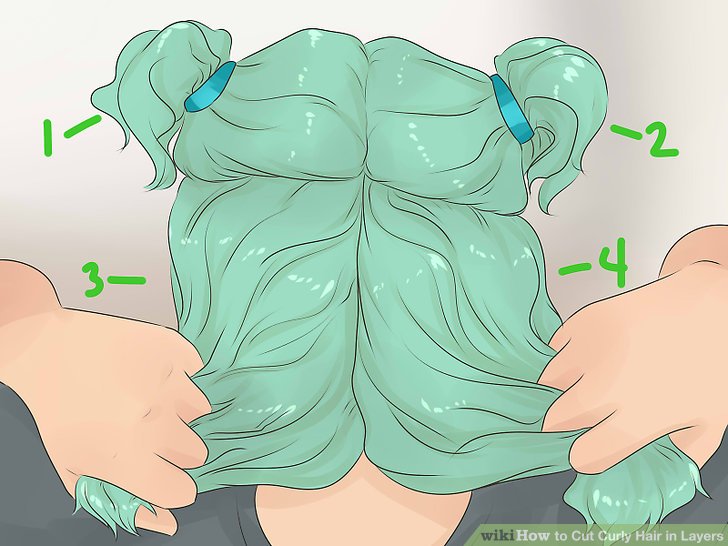
8. Divide your hair into four sections. Part your hair down the middle from front to back until your hair is parted in half. Next, split these halves by moving one part back from your ear towards the middle part.
To part your hair, you can pull the tip of a comb across your scalp. Alternatively, place your fingertips on either end of where you want the piece to be and draw your fingers toward each other until they meet.
To make the finished hairstyle look more natural, use a zigzag shape when parting your hair. The different sections will merge together more easily.
Once you have separated each section, secure the hair with a clip to hold it in place.
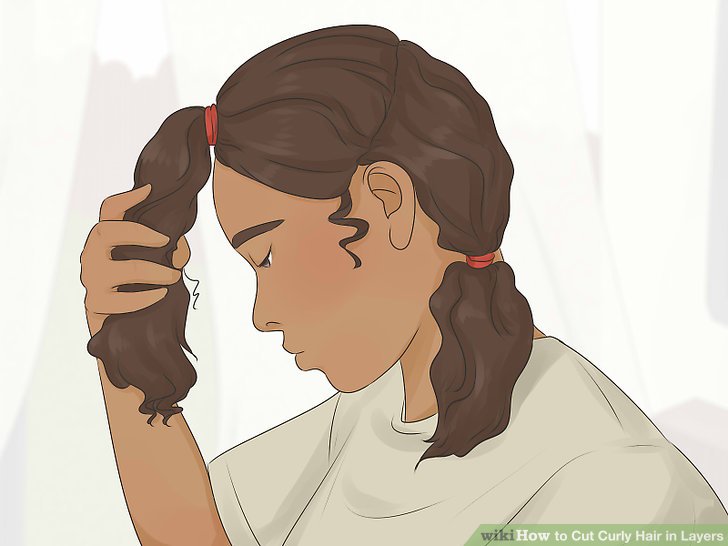
9. Pull the front center section straight up over your head. Unclip the clip holding the section in place and straighten it straight up, perpendicular to the ground. You can also pull it away from your head at a slight angle.
For shorter layers, hold your hair straight up over your head.
If you prefer longer layers, keep your hair straight, away from your head and parallel to the floor. When using this method, the top layers will be longer and closer to the bottom layers.
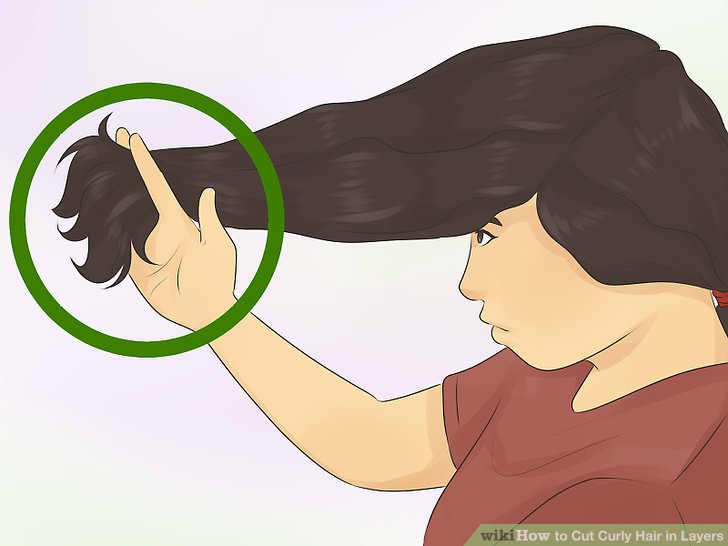
10. Grasp the ends of your hair between your index and middle fingers. With your hand not holding the scissors, grasp the section of hair at the base closest to your scalp with the first two fingers. Run your fingers along the hair until you reach the point where you want to make a cut.
Check for damage to the ends of the hair. If you see any curls or breaks, try to get rid of them all when you cut your layers.
Angle your fingers so that you cut the hair shorter in the front and longer in the back. This type of cut helps push your hair away from your face.
Trim just a small amount of hair at first. You can always go back and chop more later, but it can be difficult to fix a haircut if you chop too much. Keep in mind, however, that you’ll need to snip about an inch off the ends to see how layers form.
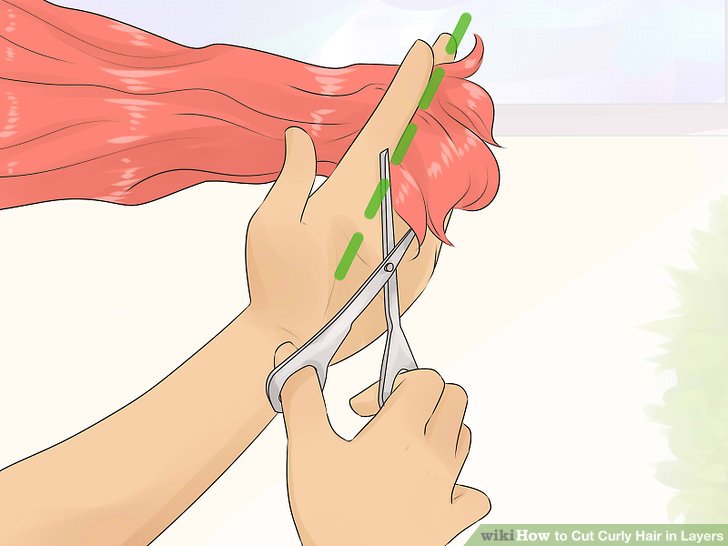
11. Cut the hair above your fingers. Use several small chops until you have trimmed all the hair. Then, angle your scissors so they’re almost parallel to your hair and make a couple of snips into your hair to slightly thin out the ends.
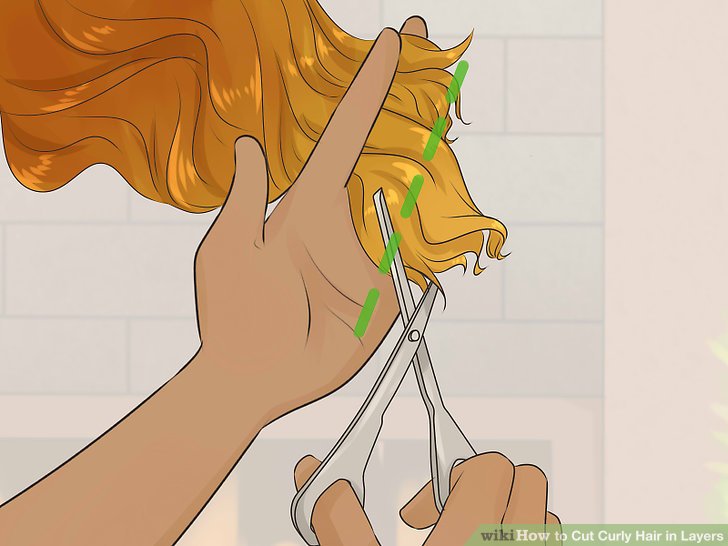
12. Repeat the process in the next section. Detach one of the sections next to the first. Pull the hair straight up, or outward at the same angle you used when cutting the first section. Use the first section as a guide to determine how much hair to cut – hold both strands of hair next to each other and trim the new section so that it’s the same length as the first.
As you pull sections up to trim, try to use equal tension so one section doesn’t end up shorter than the other.
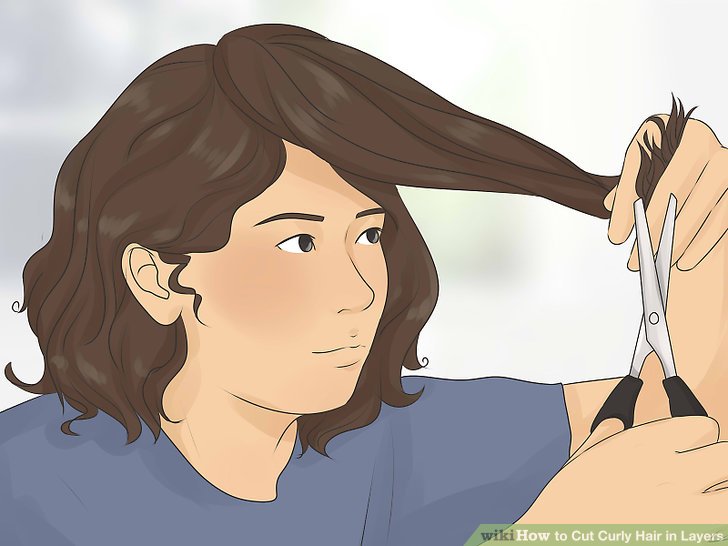
13. Continue lifting and cutting each section in the same manner. Bring each section up and in front to the same imaginary point above your head before making the cut. Because the hair on the bottom of your head has to be pulled back further when it’s lifted above your head, it will end up longer than the hair on the top of your head.
Don’t try to apply this process to the lower sections at the nape of the neck. If you leave these unstacked, they will form a strong, heavy bottom layer. If you layer them, the hair ends can appear too thin.
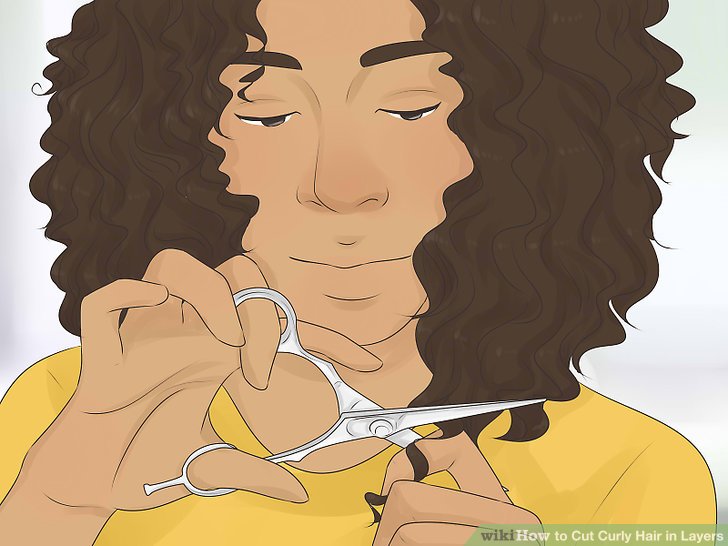
14. Finish your cut by trimming off any protruding areas. When you are done cutting the base layers, let your hair fall naturally around your head like you would normally wear it. If there are pieces that look too long or stick out too far from the rest of your hair, quickly trim them.
The overall shape of your hair should be fairly even and symmetrical. If the curls stick out a lot more on one side of your head than the other side, section off the longer hair and trim each of those sections slightly shorter.


