How To Cut Hair Straight – smartesthairstyles.com – Cutting hair straight is easy, but there are a few bad habits that can create layering and prevent that clean, blunt, straight cut. Cutting your hair can seem exciting, but you’re also more likely to screw it up. If this is your first time cutting hair, be sure to invest in a good set of barber scissors and cut less than you think you want. Remember, you can always cut more if you want it shorter, but if you cut too much you won’t be able to add more hair!
- Cut own hair
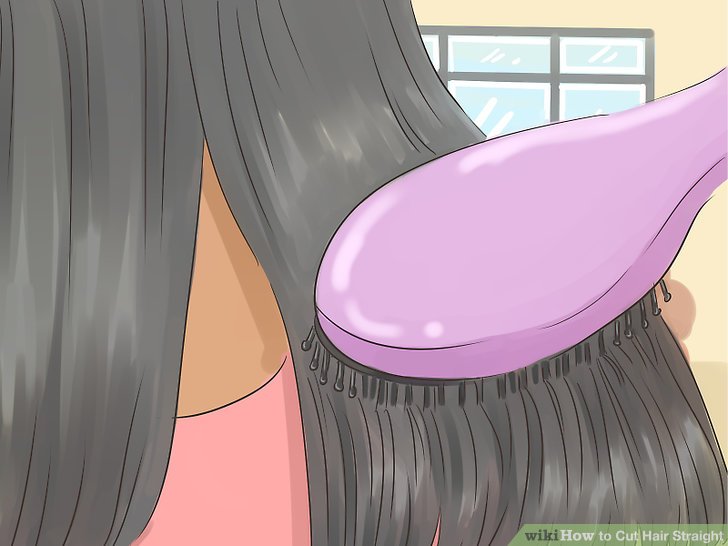
1. Comb out your hair so that it is free from knots or tangles. You can start with dry or damp hair. This method is best recommended for those who have straight hair. If you have wavy or curly hair, make sure your hair is wet before you cut it.
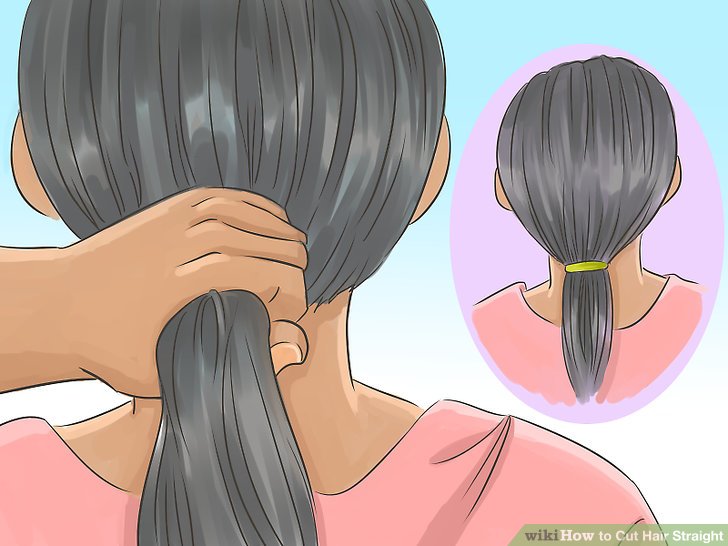
2. Pull your hair back into a low ponytail. Part your hair down the middle. Gather it into a low ponytail at the nape of your neck, then secure with a hair tie. Make sure the ponytail is neat and sleek and that all of your hair is in the elastic.
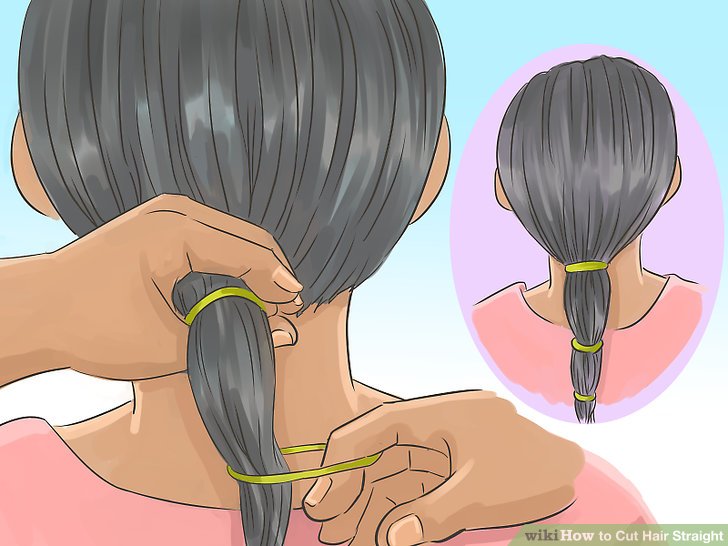
3. Tie another rubber band a few inches below the first one. Straighten your ponytail as much as possible and then wrap another elastic around it. Depending on how long your hair is and how short you want to cut it, you may need to add a third elastic underneath the second.
The addition of rubber bands gives you control before and during cutting.
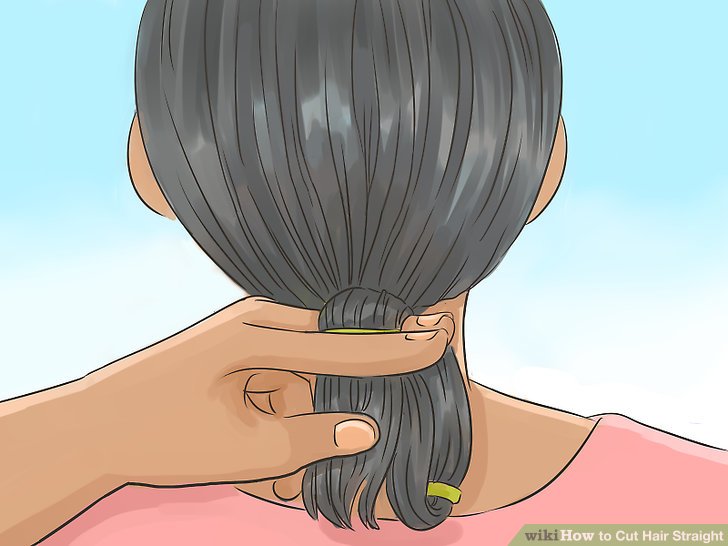
4. Hold the ponytail between your fingers where you want to cut it. Make a V-shape with your index and middle fingers, then close your fingers around the ponytail. Slide your fingers down where you want to section the ponytail.
This will give you a slightly rounded bottom edge. If you want to cut it straight, you’ll need to slide your fingers further down so you have room to adjust.
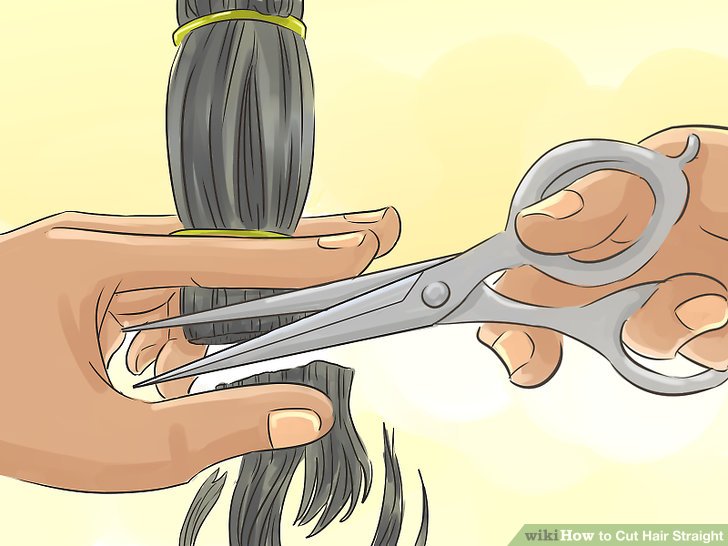
5. Clip the ponytail below your fingers. Use sharp barber scissors for this step. Don’t use regular scissors. Cut slowly and carefully, piece by piece.
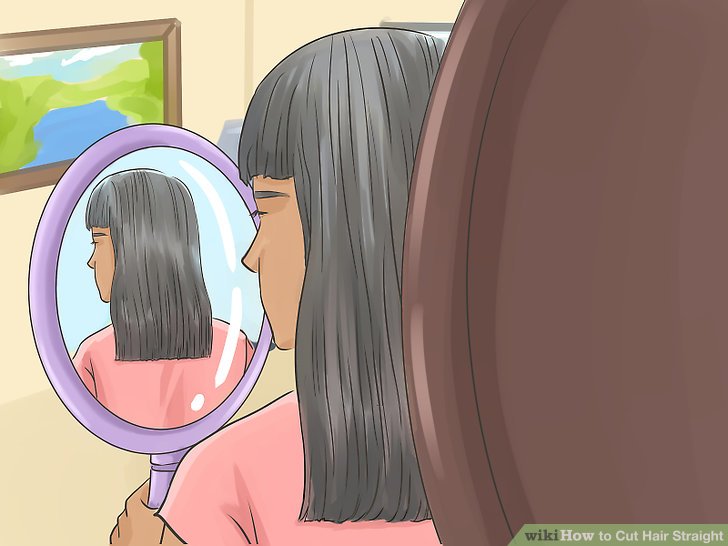
6. Loosen the ponytail and check the shape. Turn around so your back is to the mirror and hold up another mirror in front of you. Your hair will either have a rounded bottom edge or a slight curve. If this isn’t direct enough for you, continue to the next step.
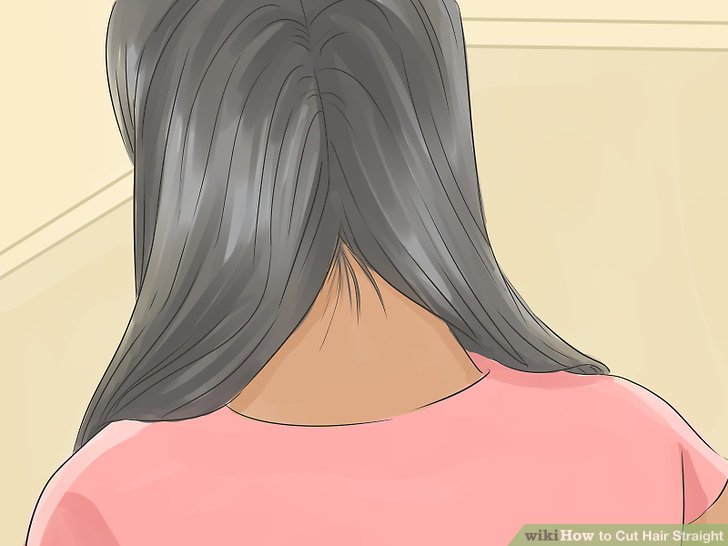
7. Remove the hair tie and part your hair in the middle. Extend the part to your nape like you are doing braids. Put the left side of your hair over your left shoulder and the right side over your right shoulder. Keep the strands that were on the back of your head as close to the outer edges as possible.
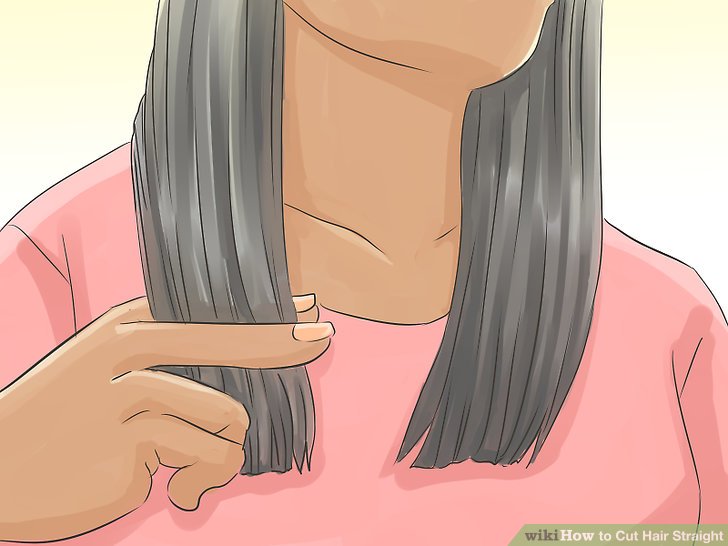
8. Pinch your hair between your fingers again. Choose a side to start with: left or right. Grasp the hair from that side and then pinch it between your index and middle fingers like you did with the ponytail earlier.
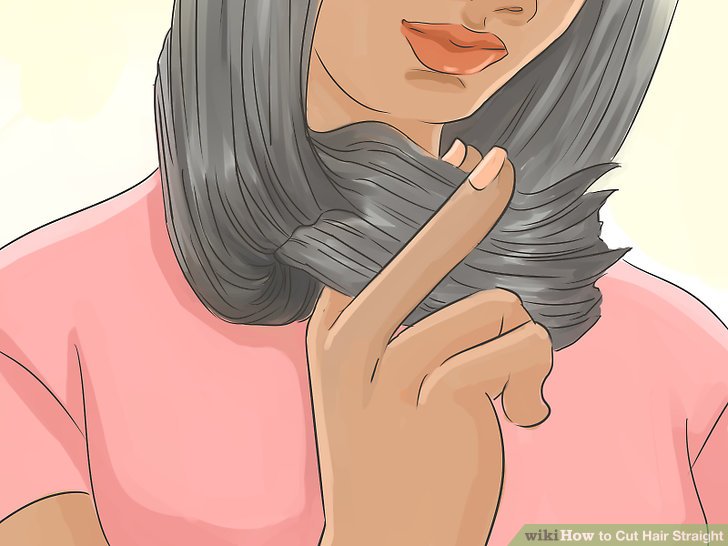
9. Draw your fingers down and bend them slightly. Slide your fingers along the section of hair to where you want to cut your hair. Bend your fingers slightly upwards so your fingertips are pointing up toward your shoulder. This allows you to cut the hair at the back of your head shorter; When you brush out your hair, it will be the same length.
Make sure the hair coming from the back of your head is on the outside of the section next to your shoulder.
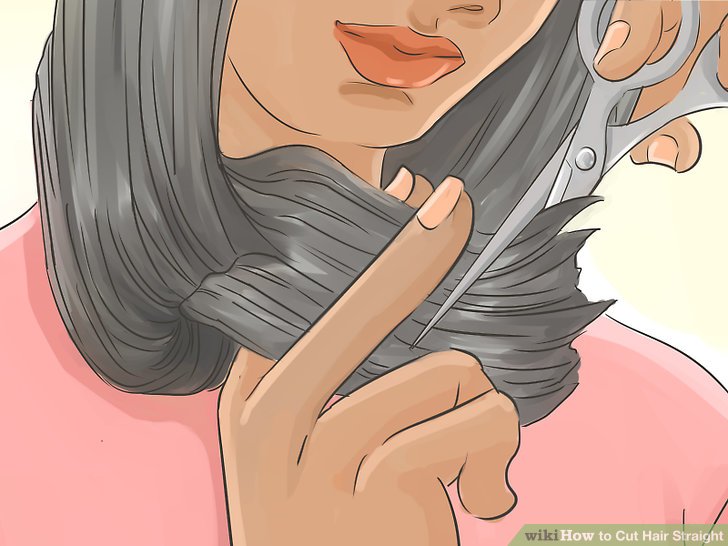
10. Section your hair under your fingers using the same method as before. Keep your hand and hair close to your shoulder when cutting. If you have very thick hair, you may need to split the section into smaller sections. Measure the new section against the previous one.
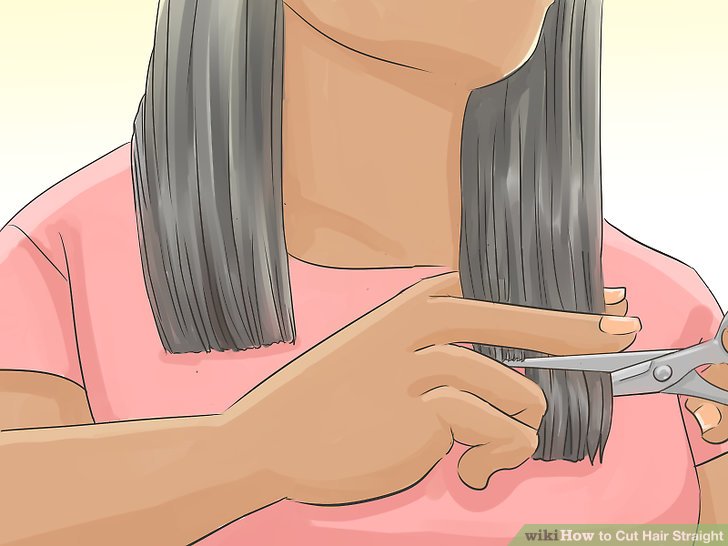
11. Repeat the process for the other side of your hair. To make sure you cut your hair to the same length, it would be a good idea to measure the uncut hair against the cut hair. Take the innermost strands from both the left and right sections. Use your fingers to note where the cut strand ends on the uncut strand.
- Cut someone’s hair
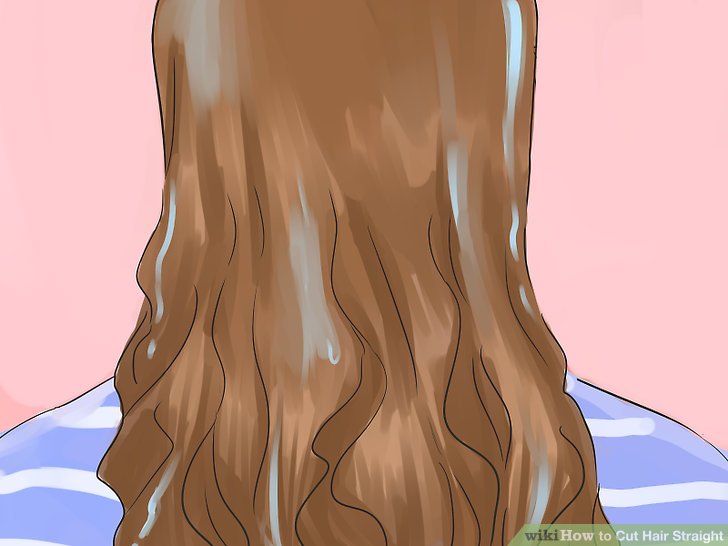
1. Start with wet hair. You don’t have to wash the person’s hair with shampoo and conditioner, but they do have to be wet. Have the person sit in a high chair so their hair is at a cutting height that is comfortable for you.
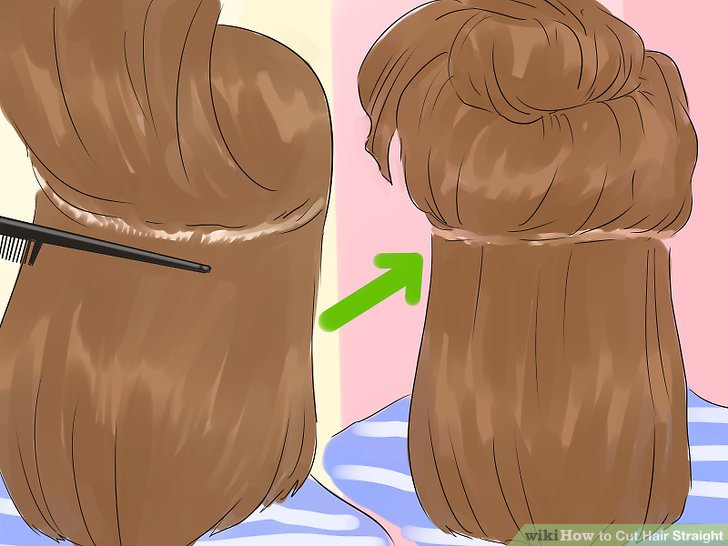
2. Gather the top three quarters of your hair into a bun. Use the handle of a rat tail comb to create a clean parting, then gather the hair into a bun at the top of your head. Pin the bun out of the way or secure it with a hair tie. Let the bottom part of her loose.
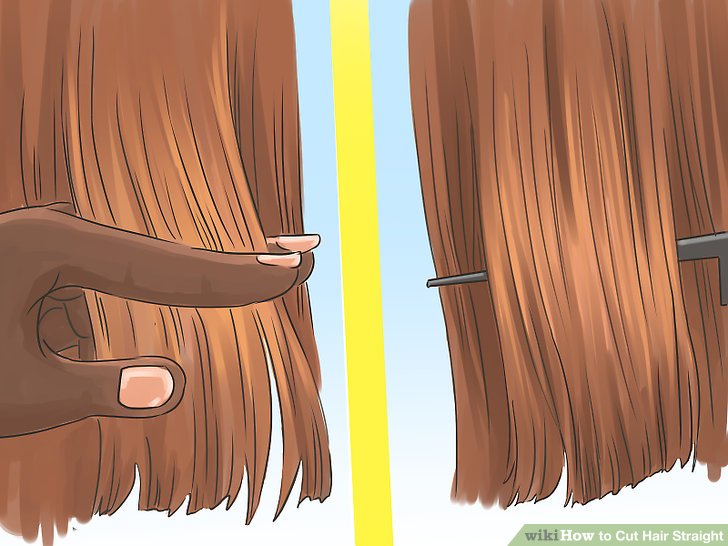
3. Pinch a strand of hair from the bottom part between your fingers. Make a V shape with your index and middle fingers. Close your fingers on a 1-2 inch strand.
You can also use a rat tail comb to measure out the sections. This will prevent you from accidentally pulling it too hard.
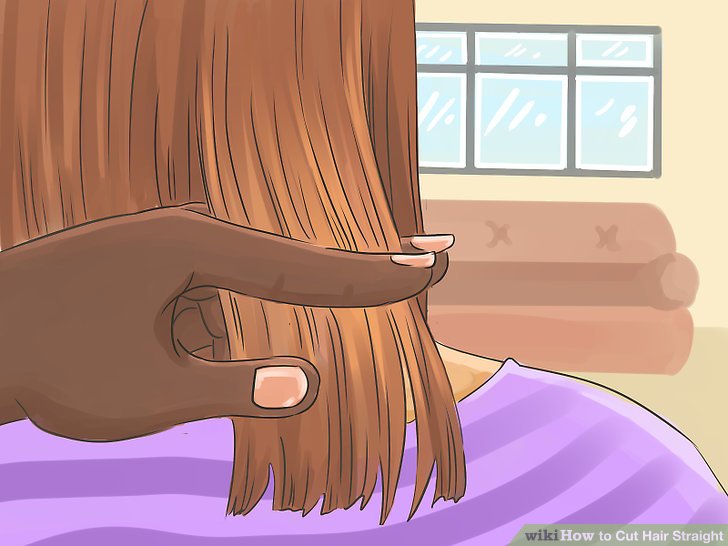
4. Slide your fingers along the strand until you want to cut. Keep your hand at the person’s back and avoid creating an angle by pulling it away from the back. Your fingers should be parallel to the part you made earlier and the floor.
Don’t curl your fingers up, flip the hair, or pull the strand away from the person’s back. This causes a slight gradation.
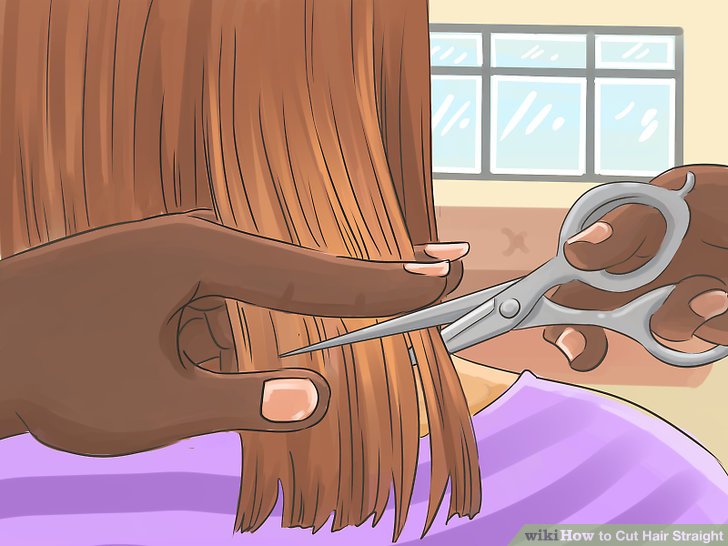
5. Cut the hair below your fingers. Use the length of your fingers as a guide. Make sure you use sharp barber scissors for this; Don’t use ordinary scissors.
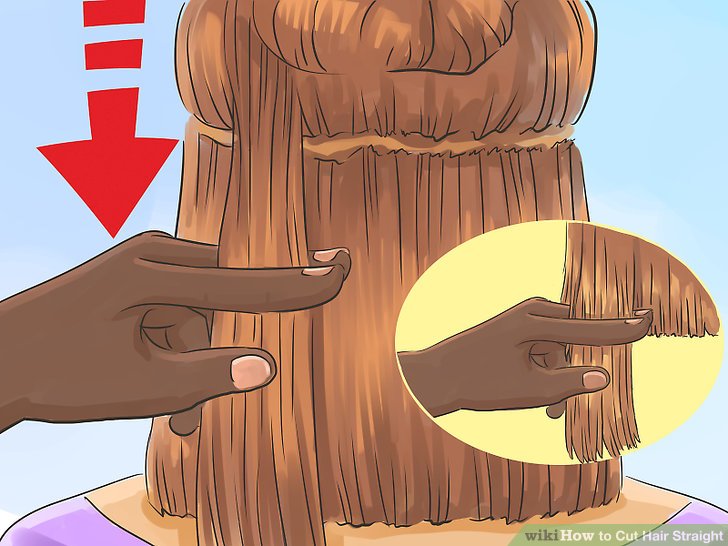
6. Gather another section and measure it against the one already cut. Take a ⁄ 2 inch (1.3 cm) section of hair. Add it to a few strands from the section you’ve already cut. Pinch the section between your index and middle fingers as before. Slide your fingers down until the bottom edge is level with the cut strand.
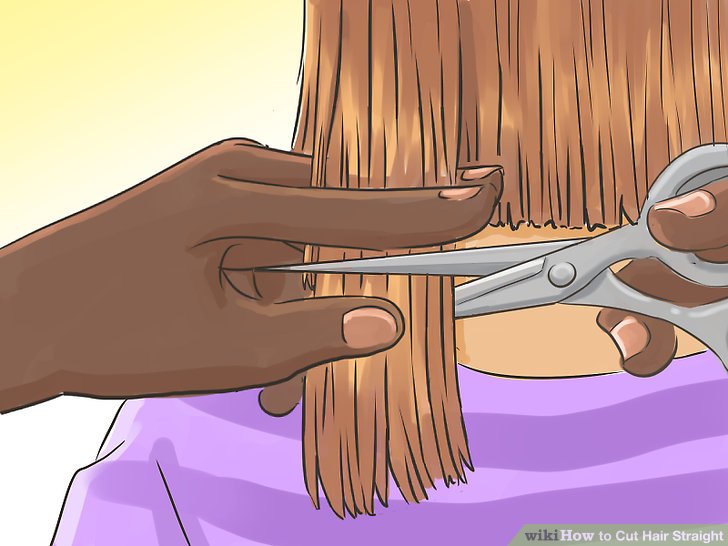
7. Section the hair and then move on to the next section. Cut the strand until it matches the already cut strand. Release the hair and take another section. Measure it against the previous strand and cut it. Continue in this manner until you have cut the entire bottom layer of hair.
Never pull the strands away from the person’s back while cutting them. Keep them as close to her back as possible.
Measure the left and right sides in front to make sure they are the same.
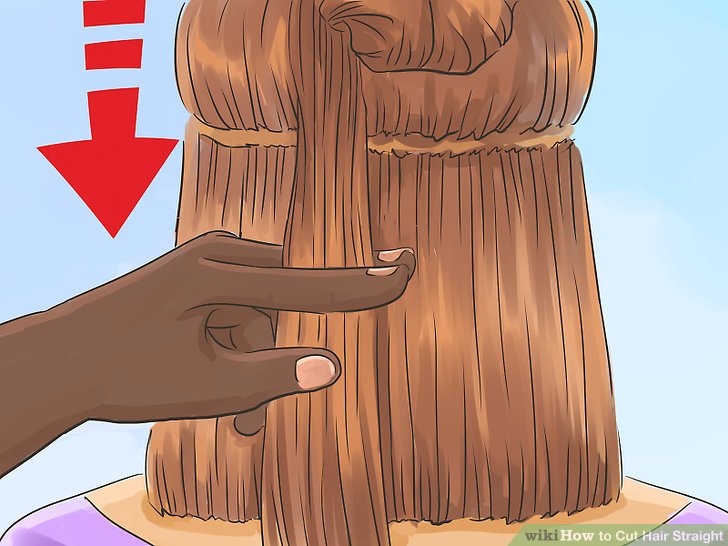
8. Let down the next layer of hair. Use the handle of a rat comb to create another clean, horizontal part. Leave enough hair that you can still see some of the previous layer underneath. Gather the rest of the hair back into a bun.
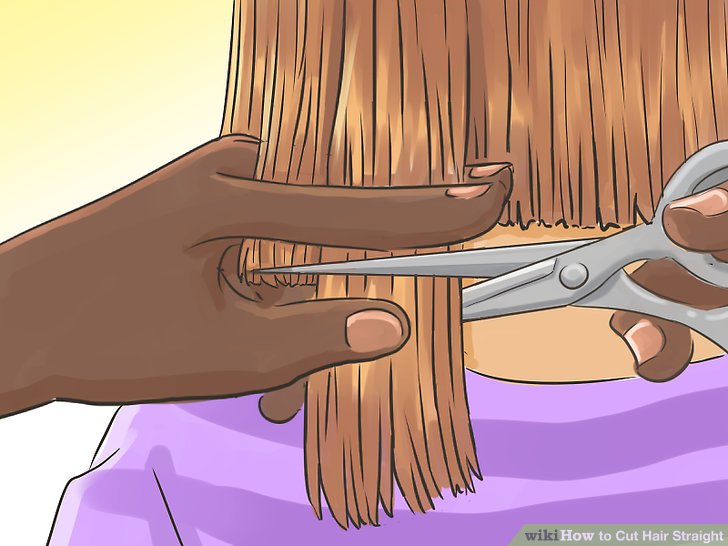
9. When cutting, measure the top layer against the bottom. Pick up a 1-2 inch section of hair from the new layer. Add a thin strand from the bottom layer. Pinch the strand between your fingers, then run your fingers down until they’re level with the strand you’ve already cut. Cut the new strand under your fingers as before.
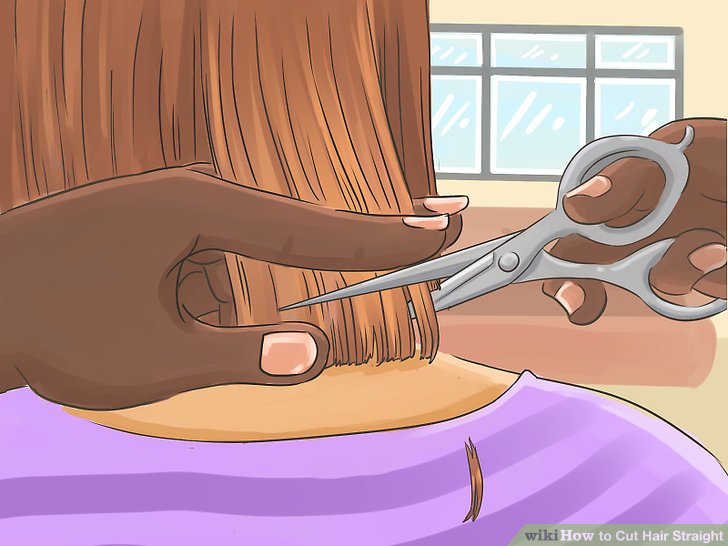
10. Cut the rest of your hair using the same techniques. Measure the new strands against the previous ones and the new layer against the old. Always keep your hand close to the person’s back; don’t pull her hair away from her back. Continue until you have cut the person’s hair.
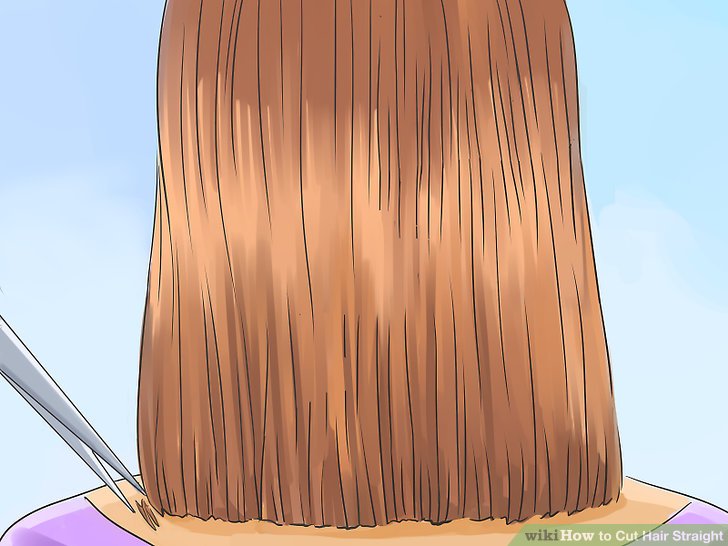
11. Dry the person’s hair, then make any necessary adjustments. If you wish, you can wash the person’s hair to get rid of tiny bits of hair. Blow dry the person’s hair, and then trim off any protruding ends.

